REPAINTING THE BOX EXTERIOR
The box was restored in 2007/8 and had its first repaint in 2012 when some of our volunteers tackled the South end of the box. This showed we needed professional help and the rest of the box was repainted by a professional in 2013. In 2017 we had the second professional repaint, and in early May of this year father and son team Brian and Jamie started on the third. The following photos show something of the "Painters' Progress" and some of the problems their work revealed and which they have solved for us. We start off at the South end which suffers most from the weather.
South End:
1a: 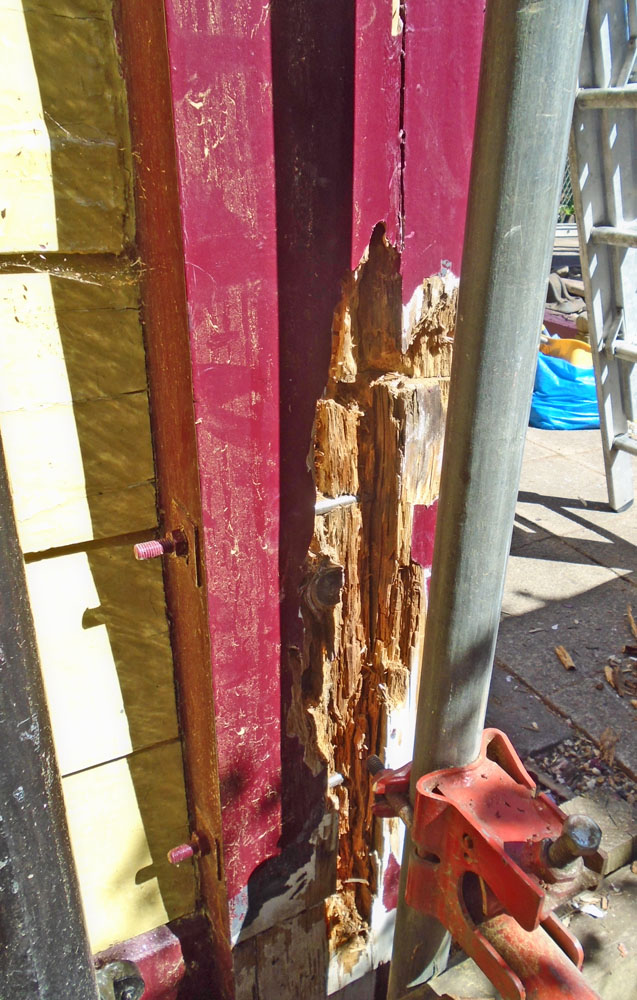 1b: 1b: 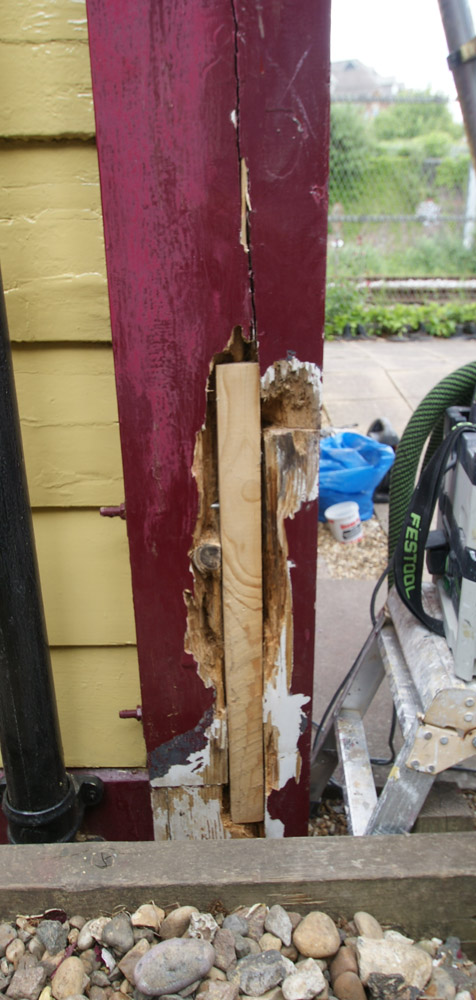 2: 2: 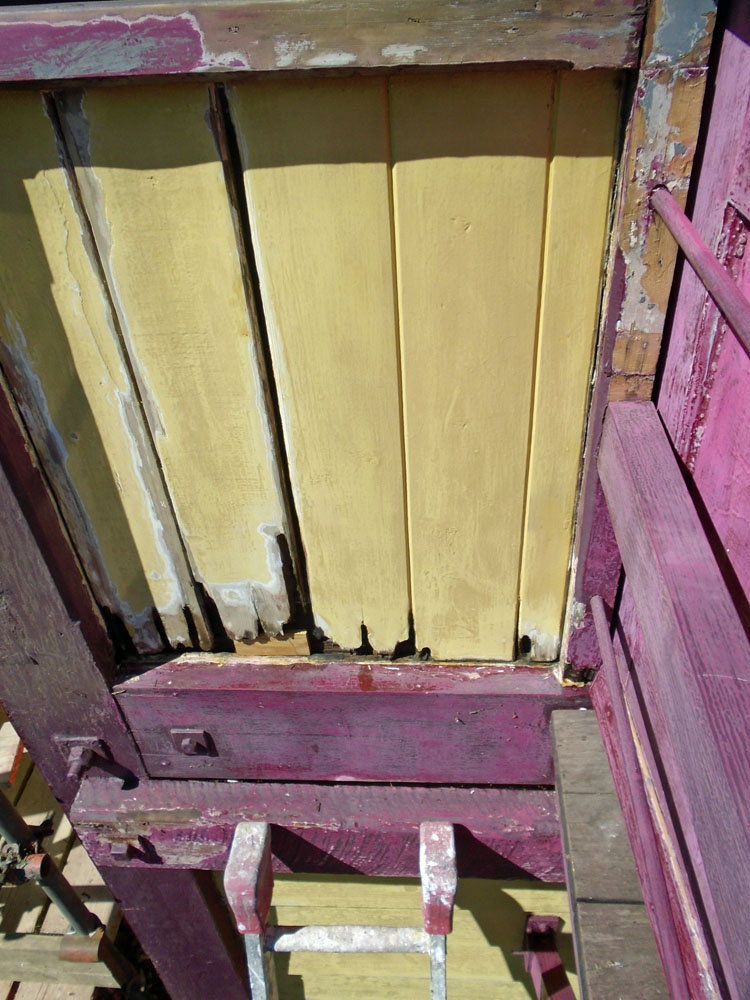 3: 3: 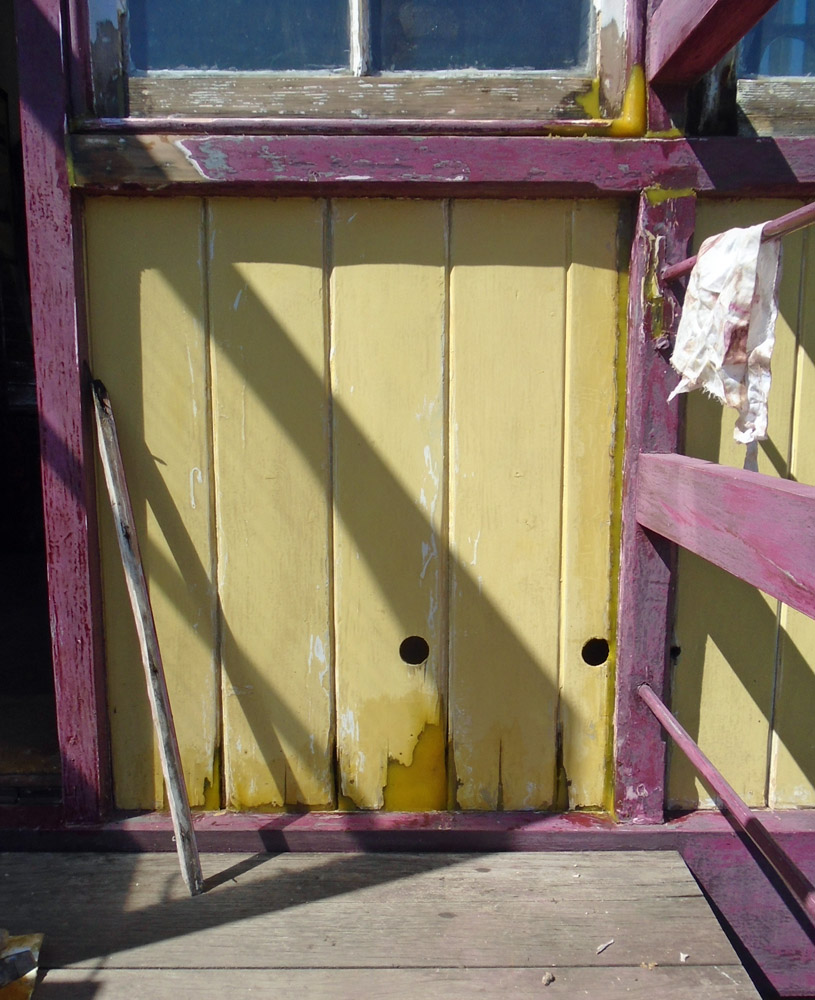 4: 4: 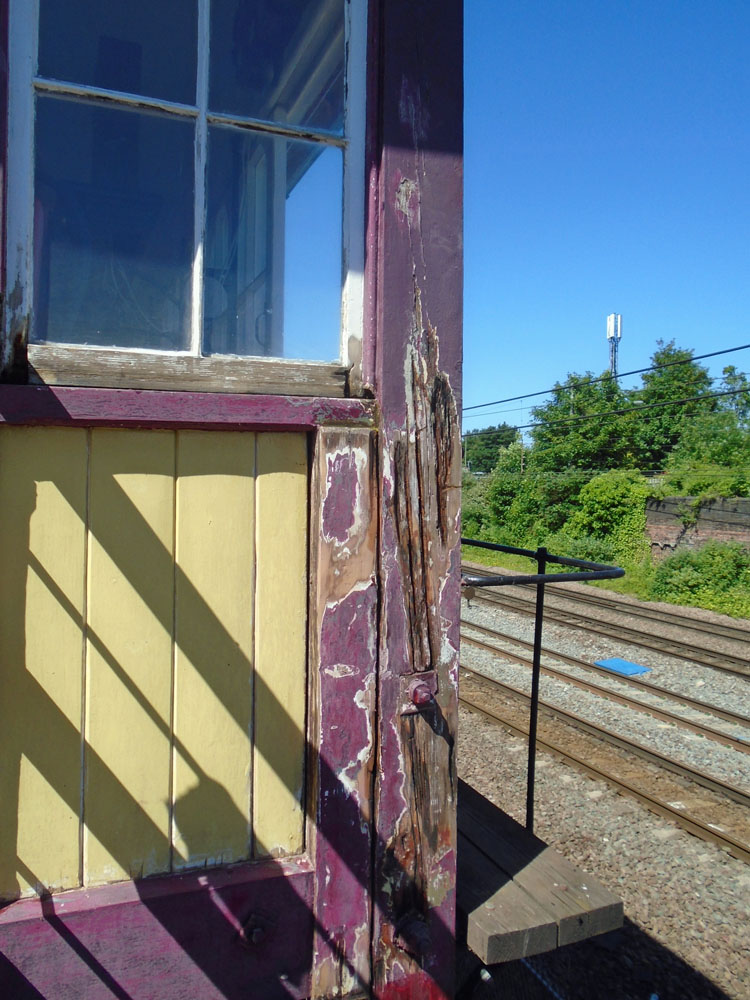
1c: 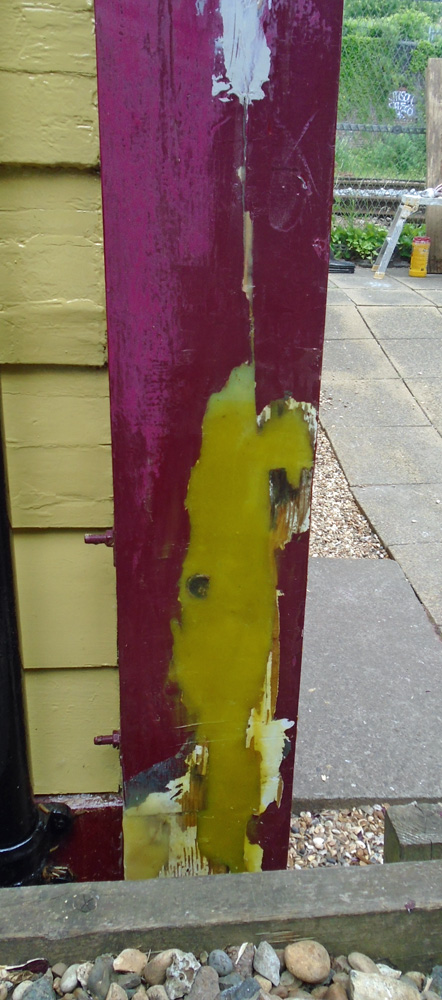 1d: 1d: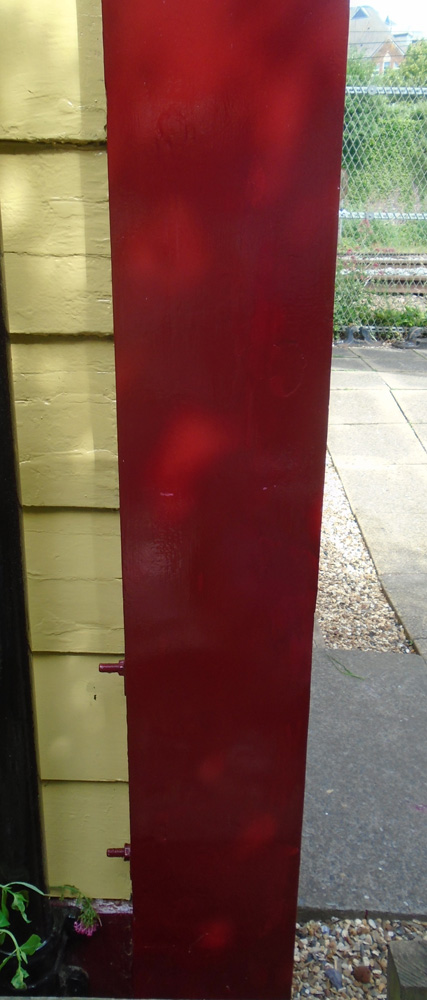 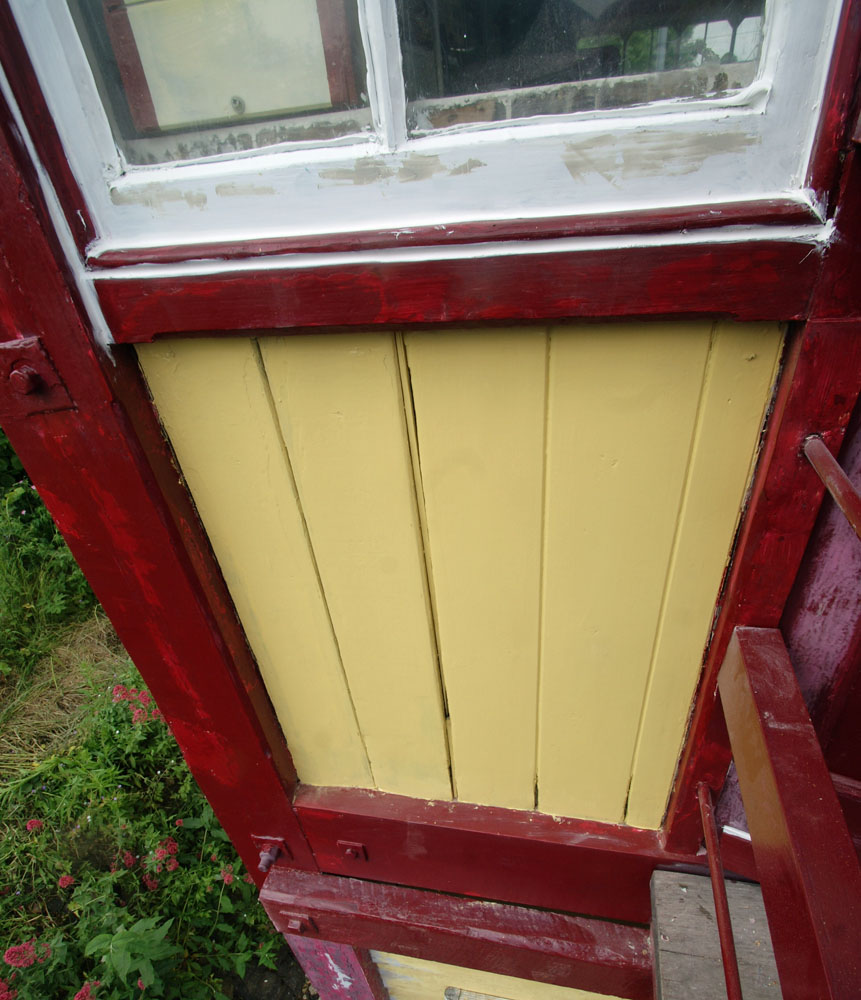 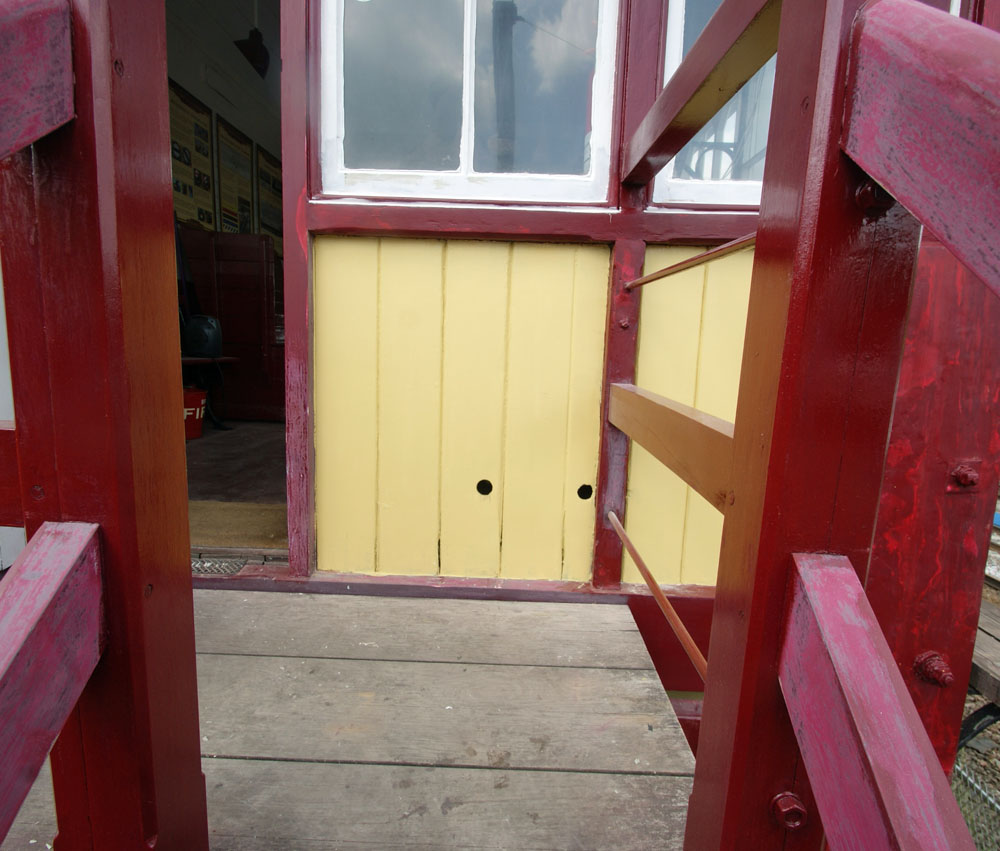 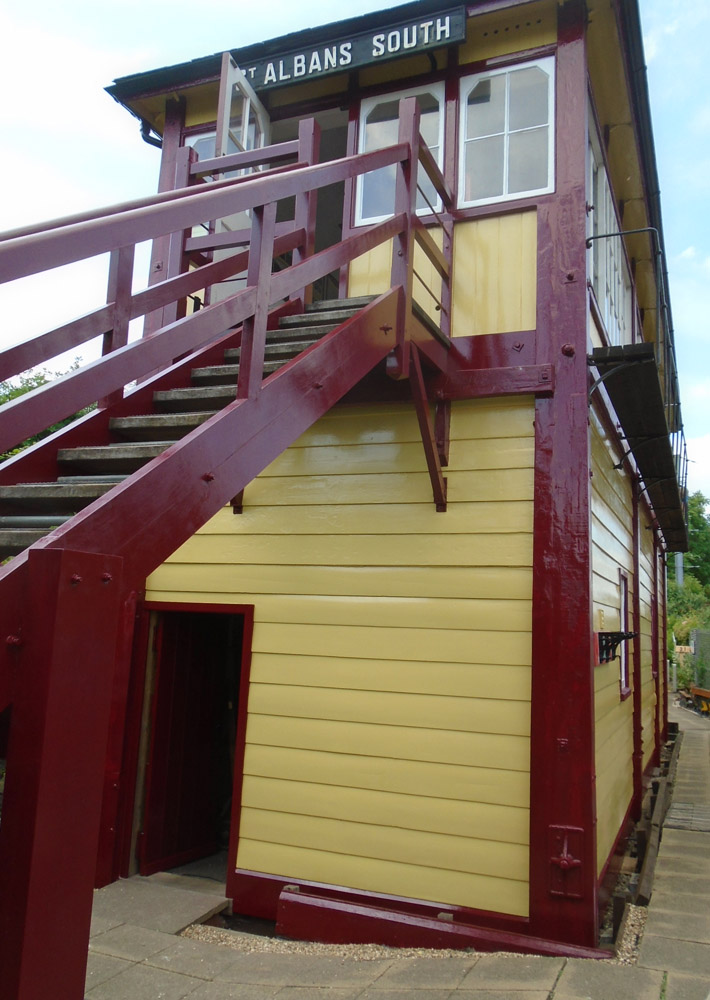
1a, b, c and d: The West face of the South-West corner post, showing the severe rot found by our painters. 1b shows the rotted wood cut away and partly replaced, 1c shows how a two-pack filler has then been used to form a flat surface prior to painting; 1d shows the end result. (The dappling is not uneven paintwork but a rare glimpse of the sun!)
2: First floor woodwork to left of the door showing (upper) rot exposed; (lower) after repairs.
3: First floor at landing level (upper) again showing exposed rot (lower) after repairs - the two holes left are deliberate - they allow the long rods holding the lever frame together to be removed if need be.
4: (upper) the South-East corner post top half after loose paint was removed.
4: (lower) General view of the South end nearing completion.
Stairs Handrail:
1. 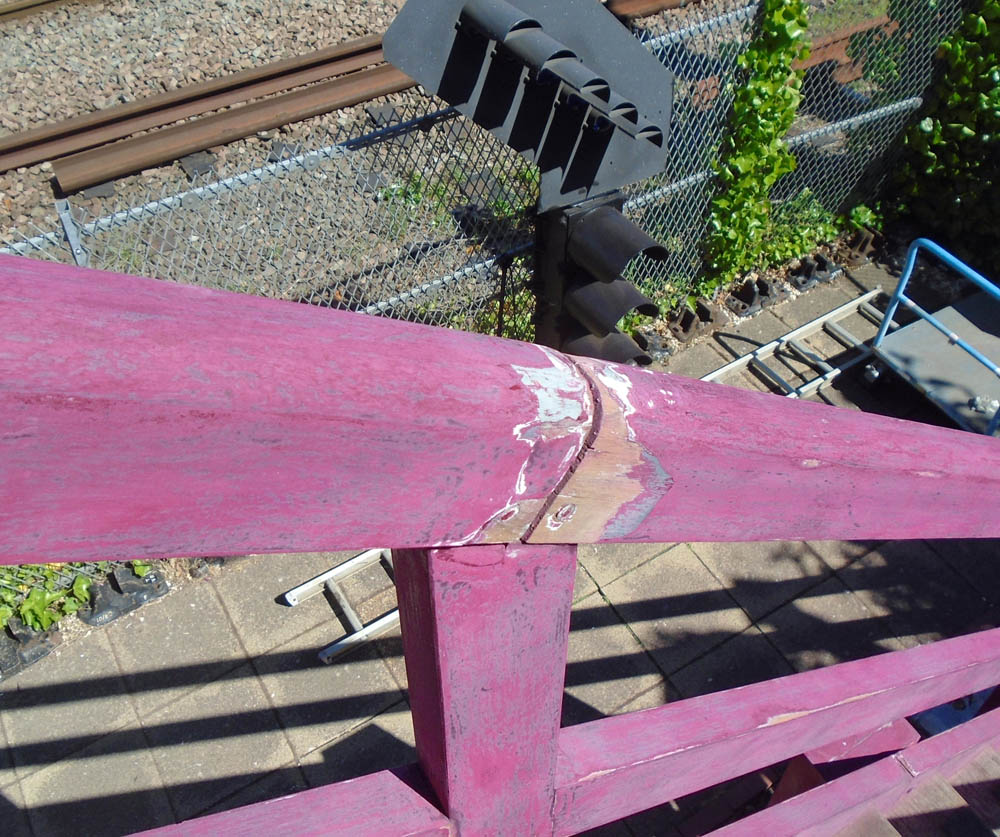 2. 2.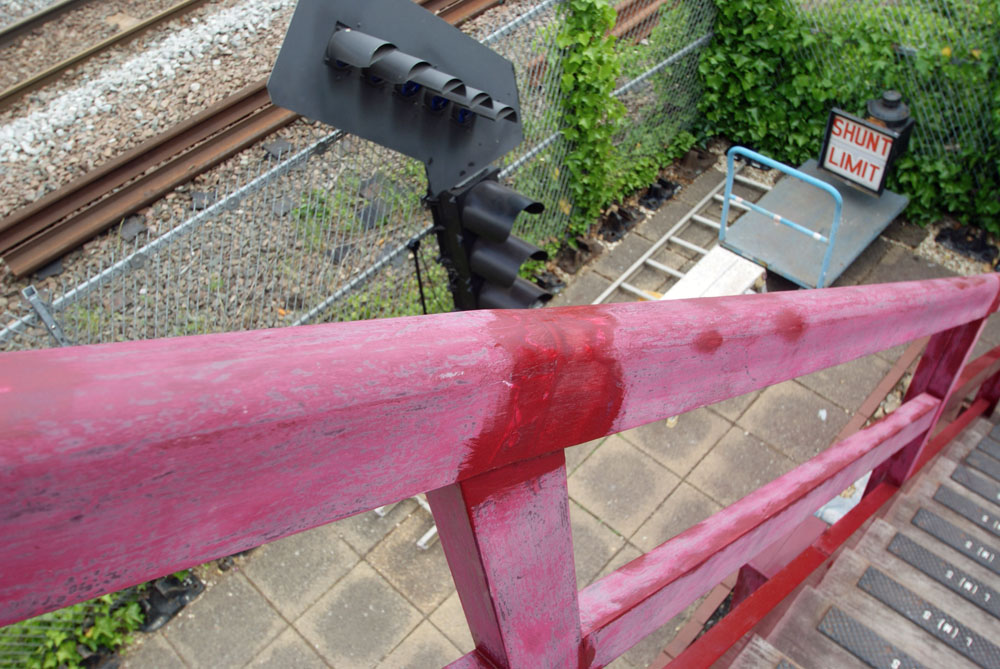 3. 3.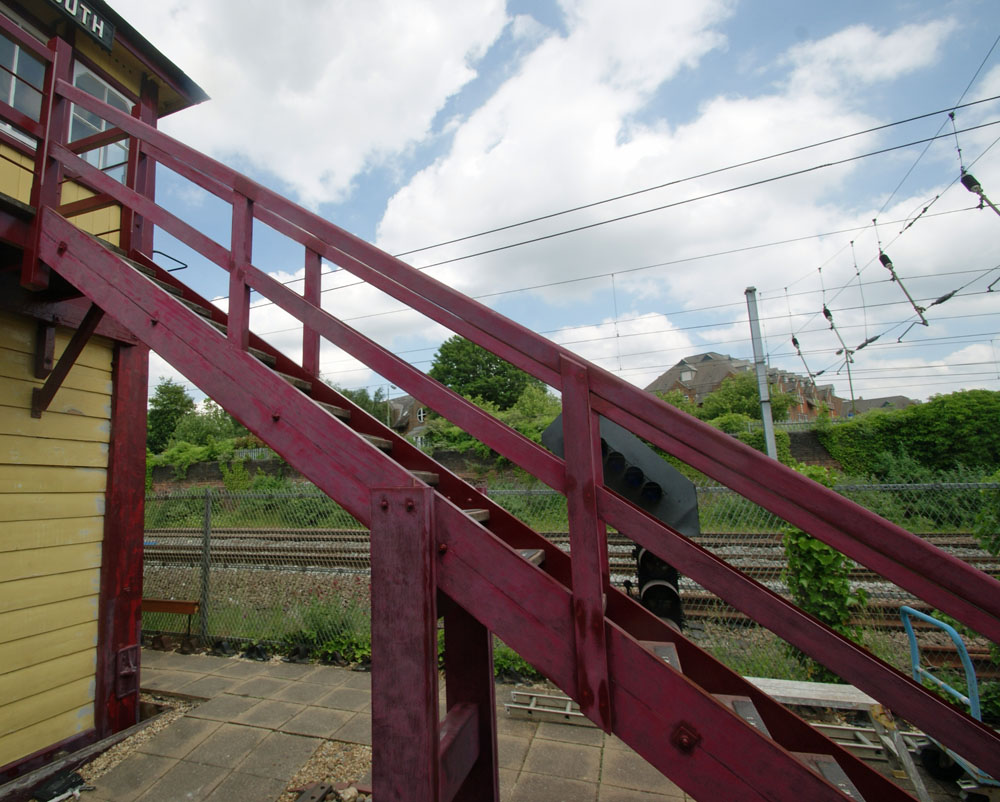 4. 4.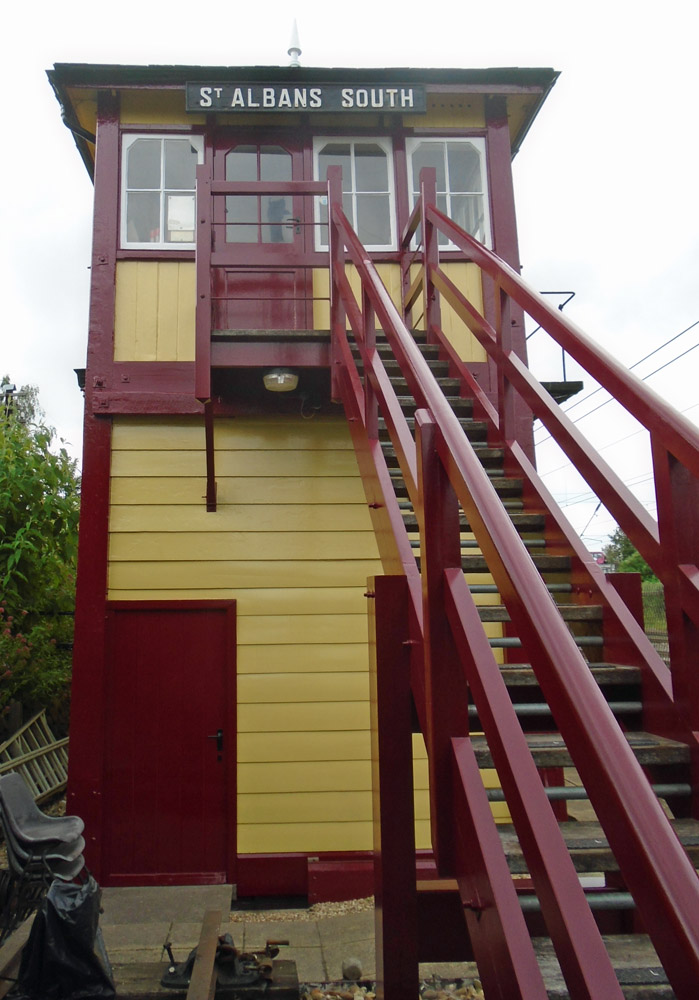
Showing (1) a joint prepared for filling: (2) the filled joint with a first coat of paint; (3) a general view of a partially repainted stairs: (4) The completely repainted stairs and South end
Rear of the Box (The West side):
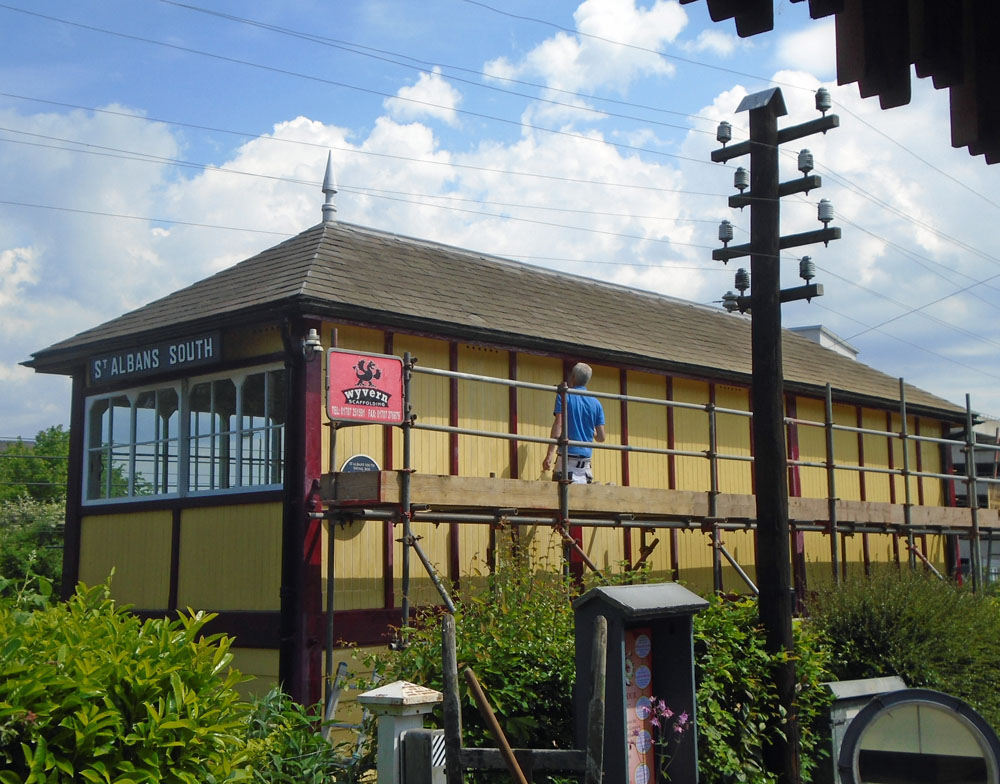
As with the previous repaint scaffolding was erected to give easier access, due to the steep bank behind the box.
1.  2. 2.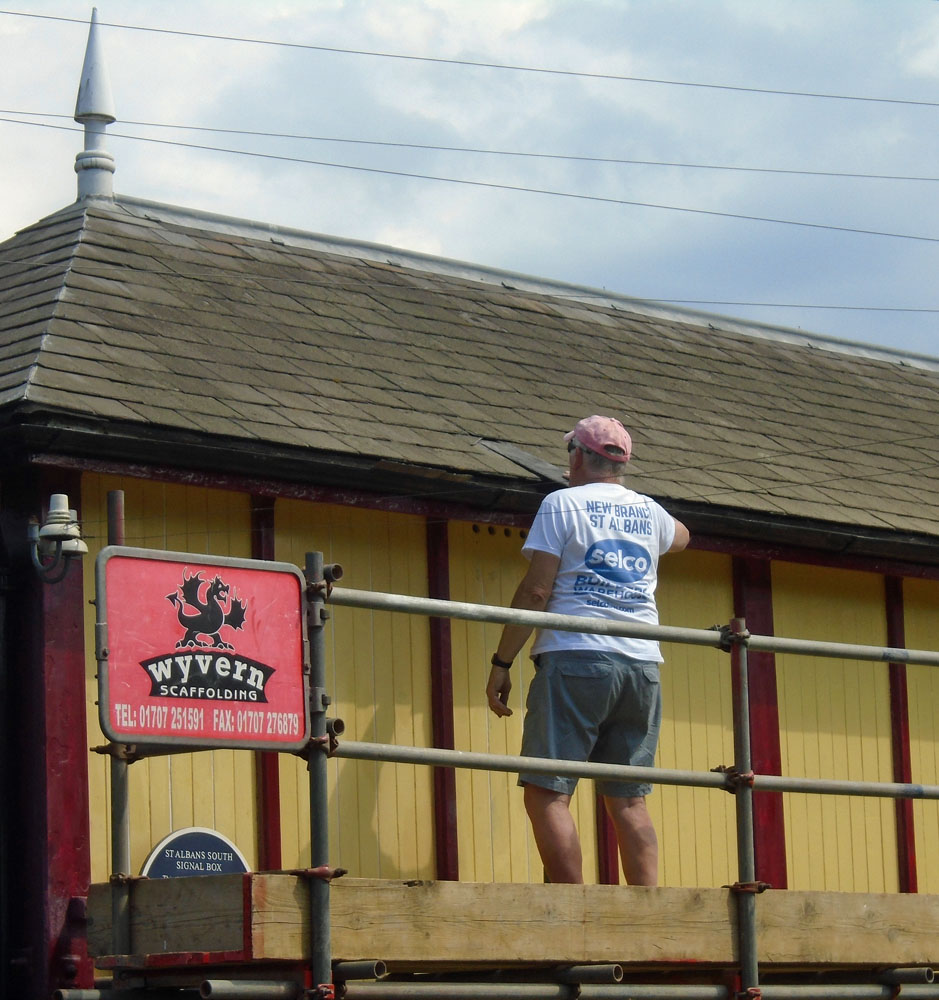 3. 3. _afterwards.jpg) 4. 4..JPG)
1. Painter at work 2. With the scaffolding in place, John Telford takes the opportunity to replace a missing slate; in addition during one weekend the roof finials were resealed and repainted.
3. The end result after the scaffolding was removed. 4. The completed West and North faces of the box seen from the lawn.
North end:
1. 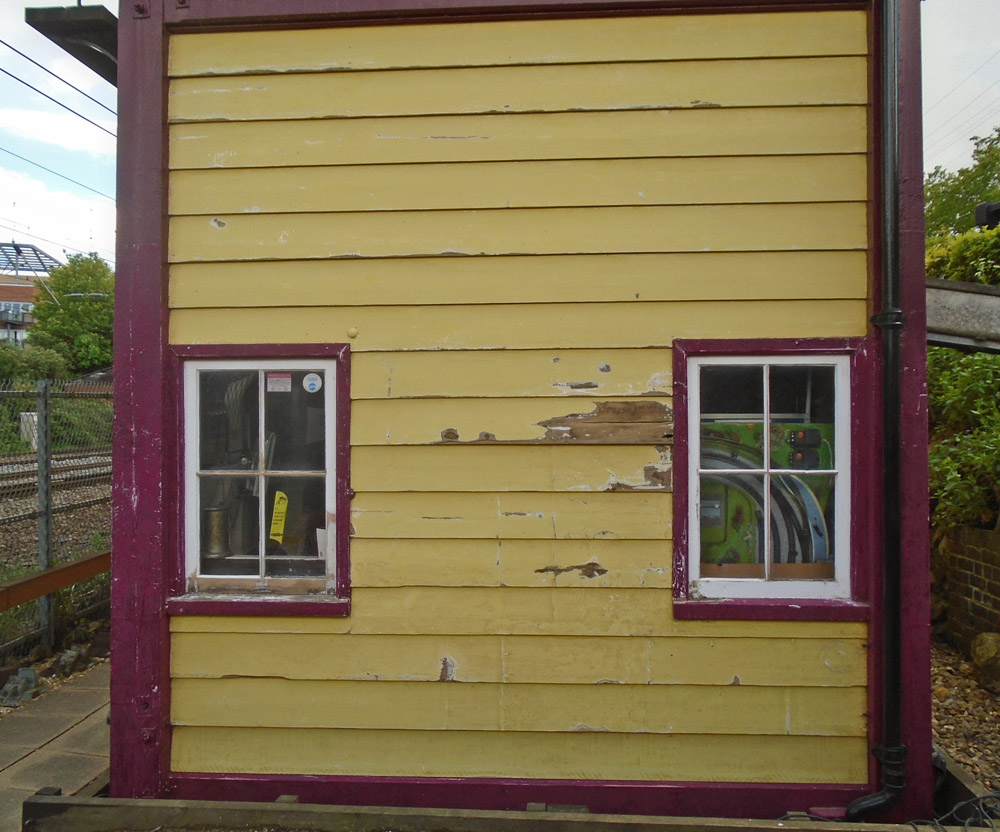 2. 2. 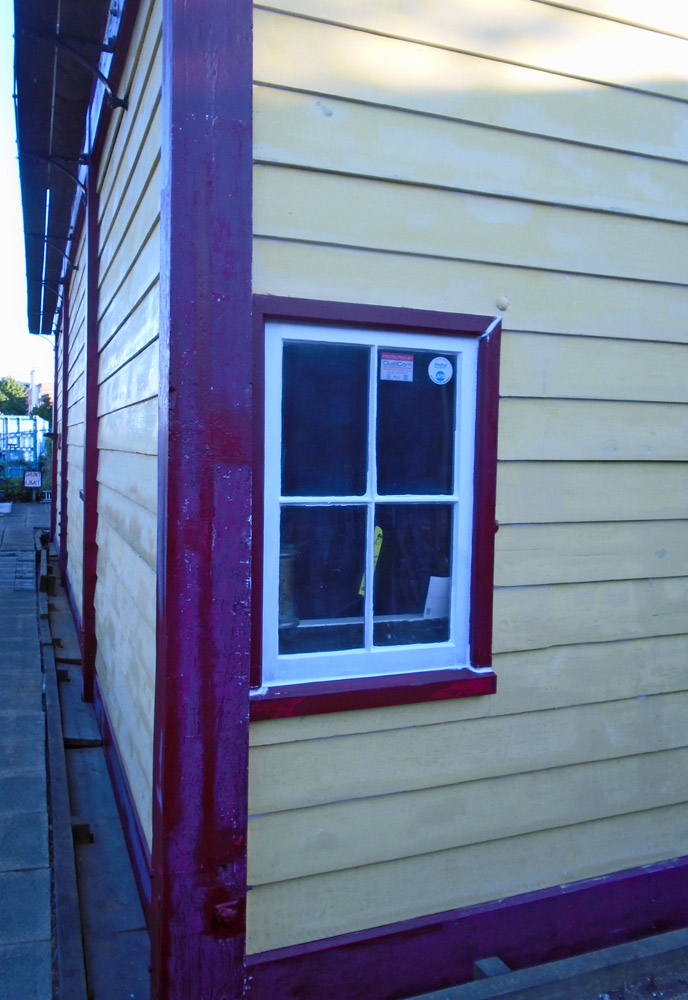 3. 3. .JPG)
1. The early stages of the work - note particularly the state of the left-hand window.
2. Close-up of the left-hand window after repairs and part-way through the repaint.
3. The finished N end.
East Side (Front of box):
1. 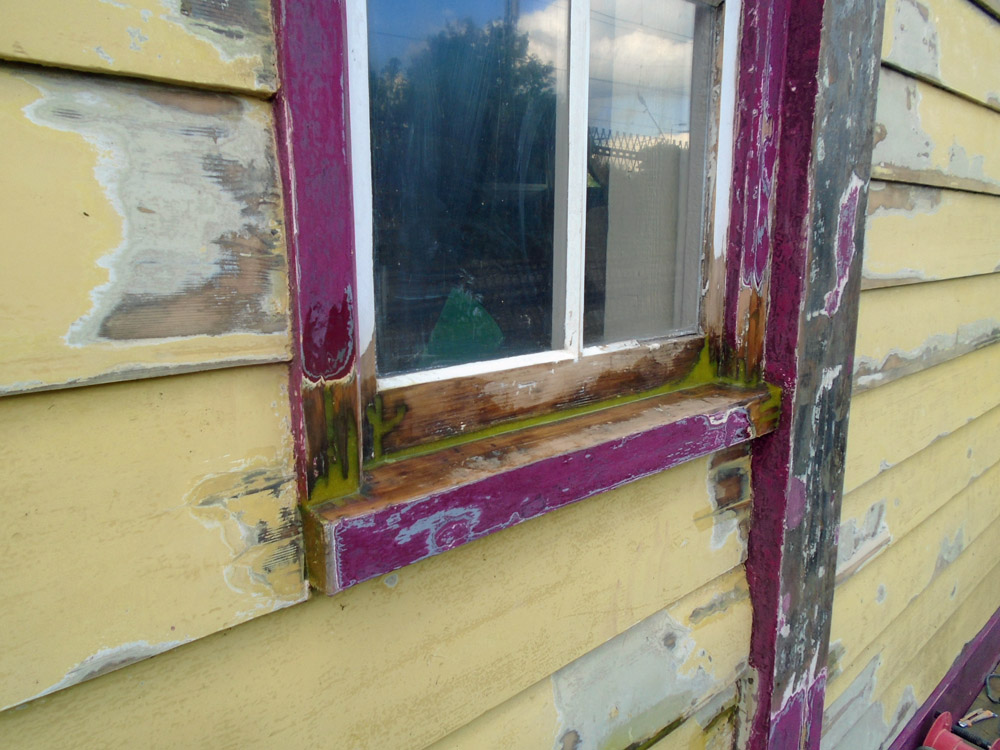 2. 2. 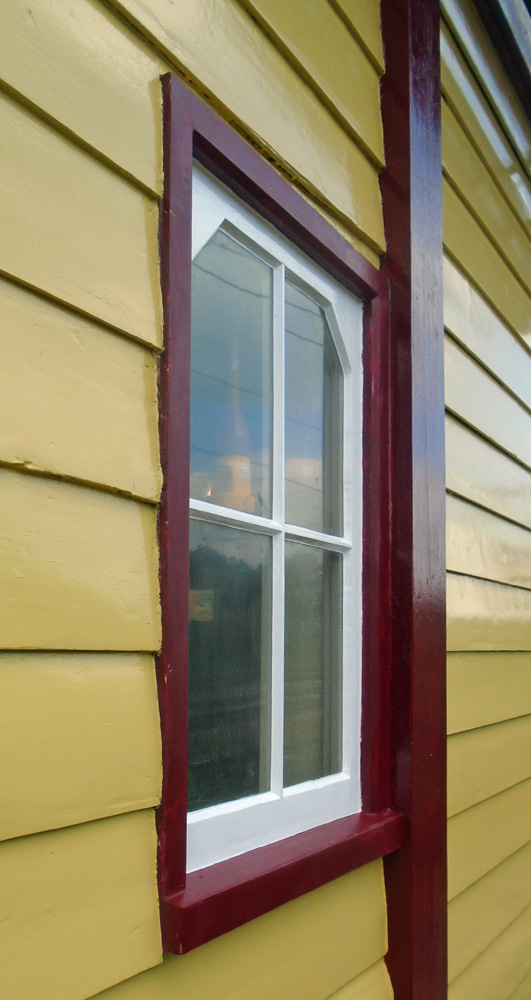 3. 3. 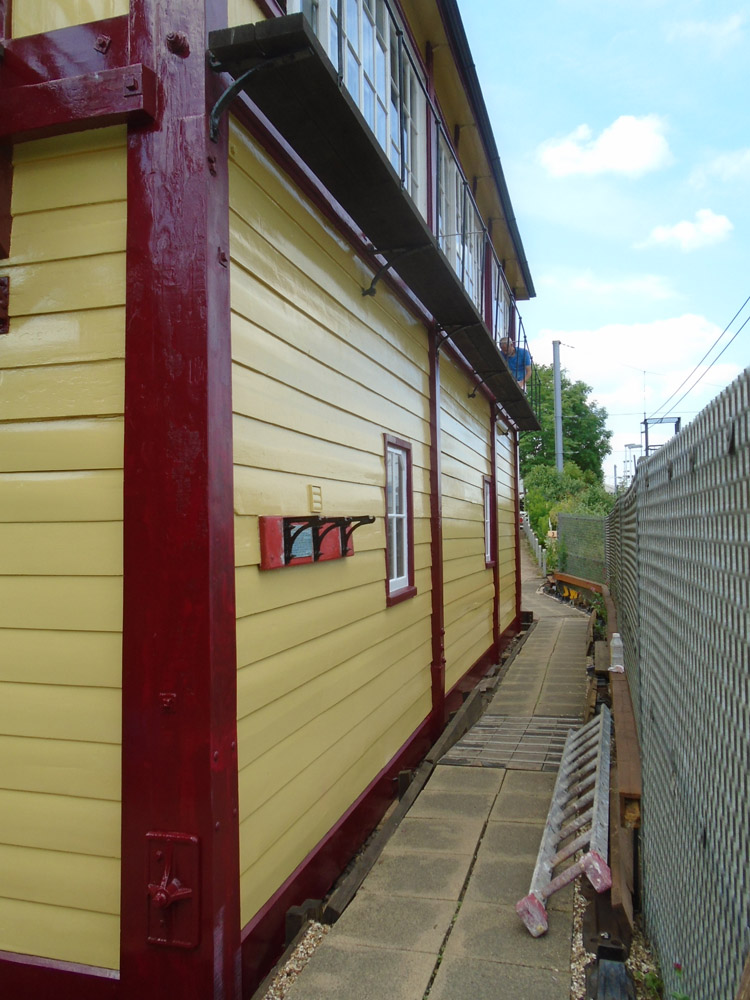
One problem with this side is water overflowing from the roof gutter which has a slight dip in it above this window, (Which we've completely failed to cure so far!)
1. The window with repairs nearly complete. 2. The restored and repainted window.
3. General view as the finishing touches were being applied - one painter is up on the outside gallery dealing with the first floor windows above.
Interior Clean-up:
With the painting finished a major clean-up inside started on Weds 30th June to remove two months' worth of dust and dirt generated by the painters sanding down the box to prepare it for the new paint! Upstairs was completed except for washing and polishing the floor, downstairs about three-quarters of the Museum room was tackled from top to bottom. Wednesday 7th July saw the completion of dust and cobweb removal downstairs, and the washing of the upstairs lino on the floor. A few days later it was given a good waxing and polishing.
|